Knowledge Base › CHAX 11 › Users and security
Users and security
Control who can sign in and what they can do, encrypt your database, and trace a check with fraud trace.
Windows and macOS3 guides

Knowledge Base › CHAX 11 › Users and security
Control who can sign in and what they can do, encrypt your database, and trace a check with fraud trace.
Turn on sign-in, add a user for each person, assign each one a role, and set a new password when someone forgets theirs.
Each user has one role, which decides the pages and buttons they see.
| What the user can do | Standard user | Power user | Admin |
|---|---|---|---|
| Print checks | Yes | Yes | Yes |
| Change Printer setup | Yes | Yes | Yes |
| Print batches | No | Yes | Yes |
| Import checks | No | Yes | Yes |
| Recurring checks | No | Yes | Yes |
| Edit payers and payees | No | Yes | Yes |
| Edit bank routing | No | Yes | Yes |
| Reports | No | Yes | Yes |
| Reprint checks | No | Yes | Yes |
| Delete transactions | No | Yes | Yes |
| Back up, restore and export the database | No | Yes | Yes |
| Check format and Check alignment | No | Yes | Yes |
| Manage users and turn sign-in on or off | No | No | Yes |
| Manage the license | No | No | Yes |
| Encrypt, move or open another database; Host mode | No | No | Yes |
| Migrate from CHAX 10 | No | No | Yes |
| Audit log and audit settings | No | No | Yes |
Your edition matters too. Reports, for example, needs Professional or Enterprise even for an admin. Read Editions compared.
A new CHAX setup has sign-in off, so it opens as the administrator with no password prompt. Turn sign-in on when more than one person uses CHAX.
In the Sign-in card, choose Turn sign-in on. If you have no password yet, CHAX first asks for a New password and Confirm password, so you can sign in later.

From the next start, everyone signs in with a user ID and password, and their role sets what they can do. To go back, choose Turn sign-in off.

Choose Add user at the top right, or pick someone in the list and choose Edit user…. For a new user, type a User ID and Full name. CHAX saves the user ID in capitals, and you can’t change it later.

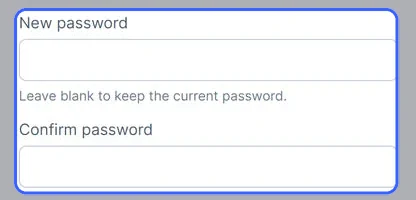
A new user needs a password of at least 8 characters, typed twice. When editing, leave New password blank to keep the current password.
When someone leaves, switch them to Inactive. They can no longer sign in, but they stay in the list with their history.

Select a role. Each one has a short description of what it allows.

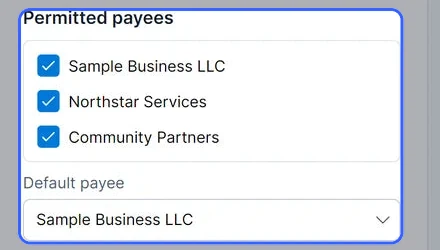
Tick the payees this user writes checks for, and pick a Default payee from among them. Then choose Save.
CHAX can’t show or send a user’s password, so an admin sets a new one.

CHAX stores only a scrambled copy of each password, never the password itself. That’s why an admin sets a new one and can’t look up the old one.
The audit log always records turning sign-in on or off, with who did it, on which computer, and when. Adding or changing a user and resetting a password are recorded too, with the changed fields, while User administration is ticked in Audit settings. It’s ticked by default, and Professional, Enterprise and trial can untick it. A reset appears as “User changed” with “(password reset)” after the user ID.
CHAX 10 had separate permission boxes. On migration, a CHAX 10 supervisor becomes an admin. Anyone who could maintain payees, print batches, delete transactions, run reports or change routing becomes a power user. Everyone else becomes a standard user.
Encrypt the CHAX database so a copied file or backup can’t be read, keep the recovery key safe, and know what to do if the password is lost.
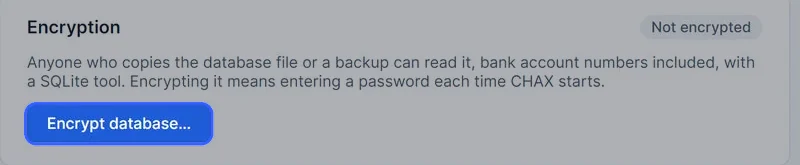
An unencrypted database file or backup can be read by anyone who copies it and has a SQLite tool, bank account numbers included. Once encrypted, the file can’t be read without the database password or the recovery key. In exchange, everyone enters the database password each time CHAX starts.
The Encryption card shows Not encrypted. Choose Encrypt database….
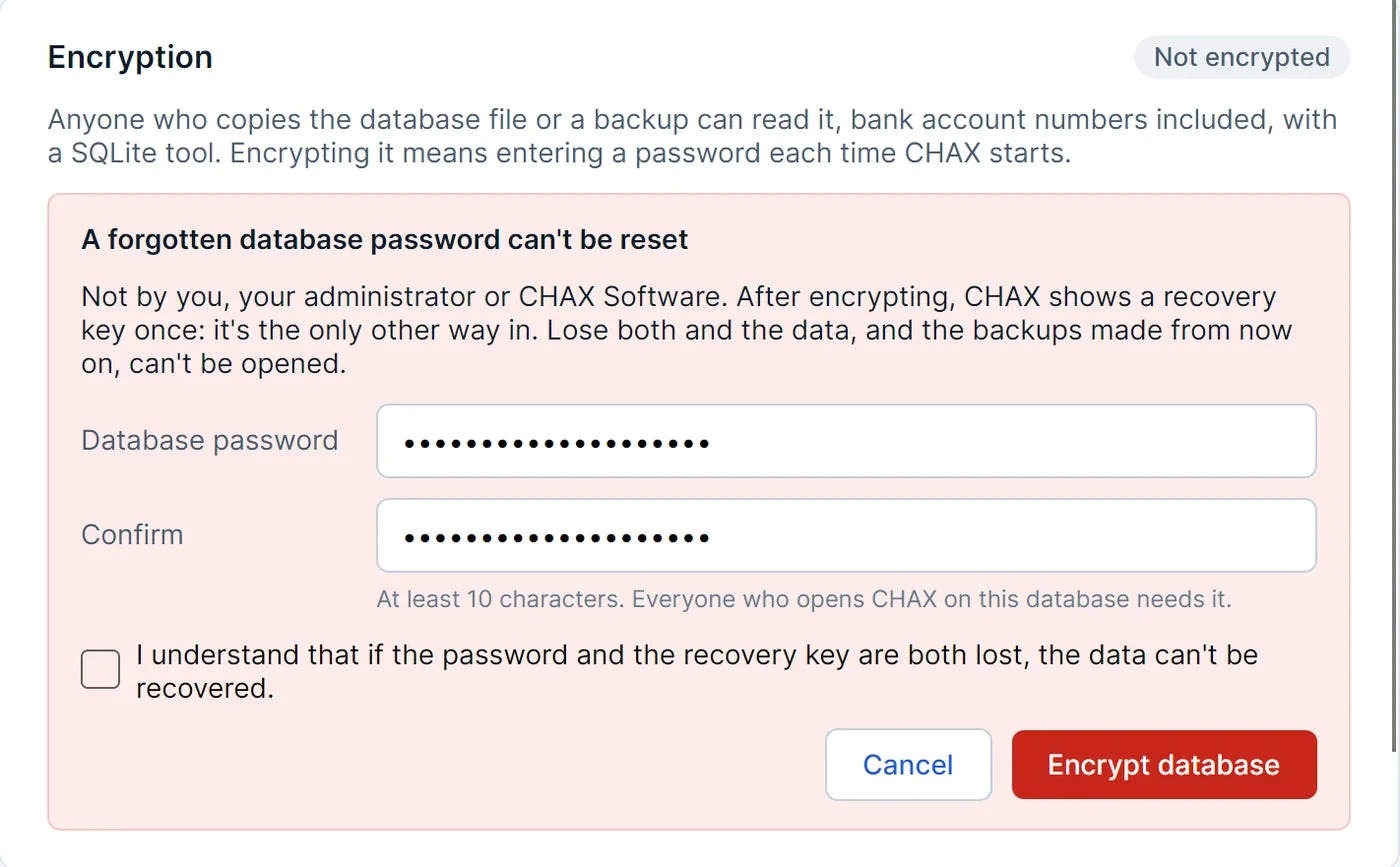
Type a Database password of at least 10 characters, and type it again in Confirm. Everyone who opens CHAX on this database will need it.
Tick “I understand that if the password and the recovery key are both lost, the data can’t be recovered.”, then choose Encrypt database. CHAX won’t encrypt until the box is ticked.
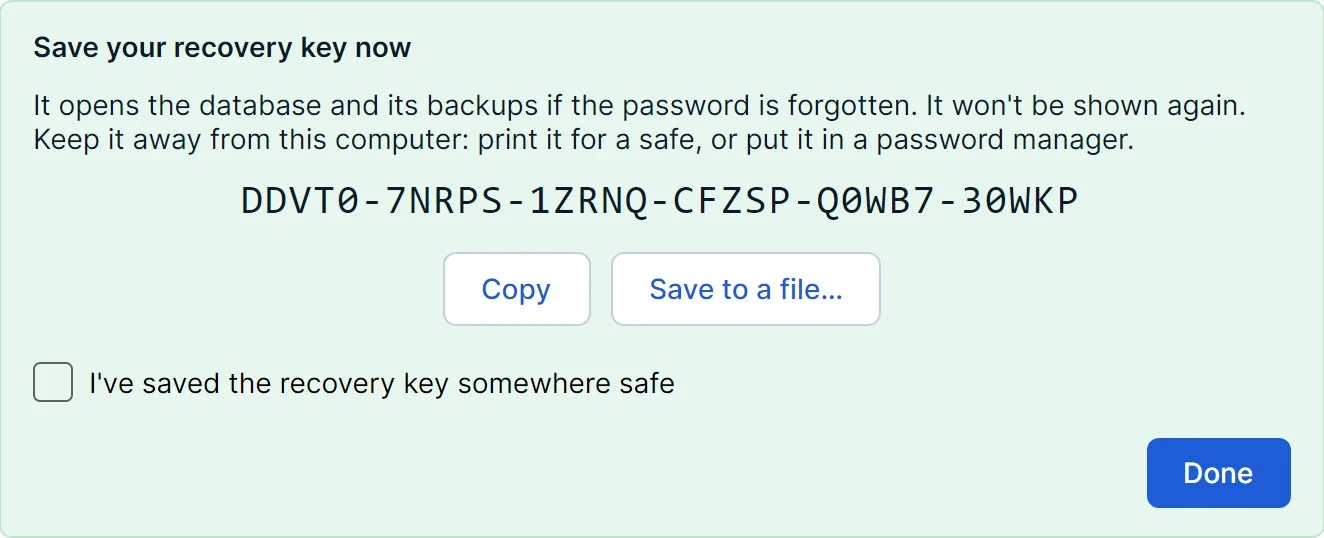
CHAX encrypts the database and shows the recovery key once, as six groups of five letters and digits. It isn’t stored anywhere CHAX can show it again.
Choose Copy to put it on the clipboard, or Save to a file… to save CHAX recovery key.txt, which also lists the database location and the date. Move it off this computer. Then tick “I’ve saved the recovery key somewhere safe” and choose Done, which stays blocked until the box is ticked.
Backups from before encryption can still be read without a password, and CHAX tells you how many there are. Choose Delete unencrypted backups so the bank details in them can’t be read. Or choose Keep them, knowing that anyone with access to this PC’s backups folder can open them. If you keep them, a link in the Encryption card brings this choice back later.
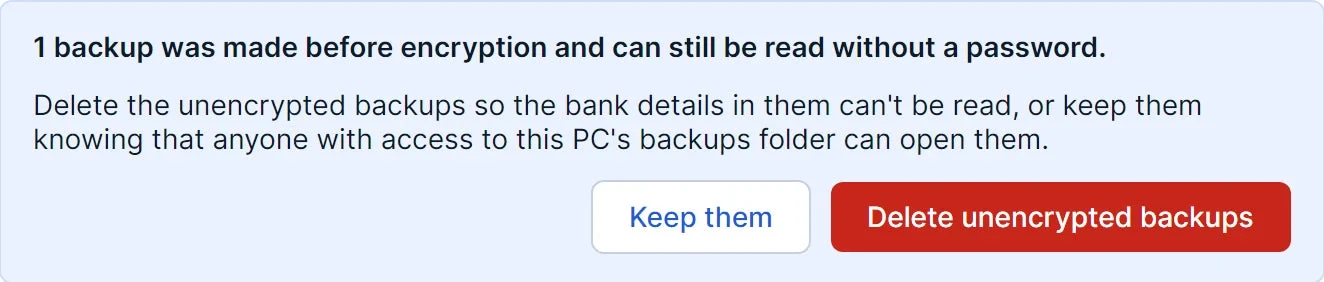
Deleting covers only the backups folder next to the database. Copies elsewhere, such as exports on a USB drive, stay as they are, so delete those yourself.
The card now shows Encrypted, along with Change password… and Remove encryption….
Each time CHAX starts on an encrypted database, the unlock screen appears before sign-in.
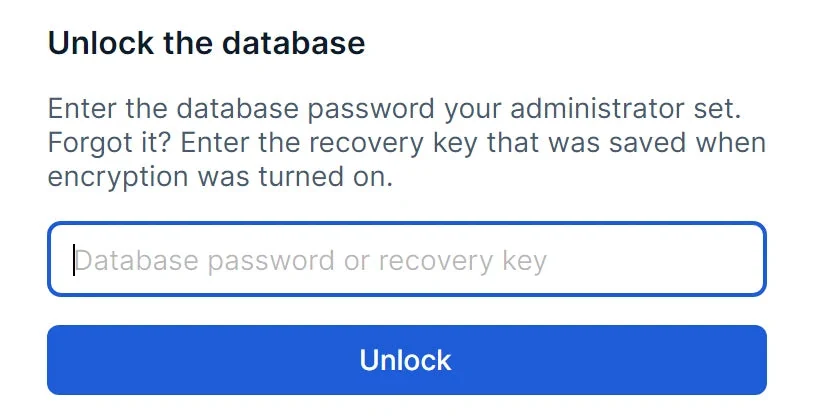
Type the database password and choose Unlock. If it’s forgotten, type the recovery key in the same box. Capitals, spaces and dashes don’t matter. After a recovery key, CHAX asks you to Choose a new database password for everyday use. The recovery key stays the same.
| You have | What to do |
|---|---|
| The recovery key, not the password | Type the recovery key on the unlock screen, then choose a new password. |
| The password, not the recovery key | The data is safe while the password works, but you have no spare. Remove encryption with the password, then encrypt again for a new recovery key, which will differ from the old one. Save it this time. |
| Neither | Nobody can open the encrypted database or its encrypted backups, CHAX Software included. If you kept an unencrypted backup or export from before encryption, restore it. |
When the current database doesn’t share an encrypted backup’s key, restoring that backup asks for its password or recovery key. Read Restoring a backup.
Encrypting creates a random 30-character recovery key, which encrypts the whole database file using ChaCha20-Poly1305 through SQLite3 Multiple Ciphers. The key avoids characters that people often confuse: it has no I, L, O or U. If you type I or L, CHAX reads 1, and O reads 0.
Your password doesn’t encrypt the data directly. It unlocks a copy of the recovery key in a small key file next to the database, named after the database file with .key added. AES-256-GCM seals that copy, with a key made from your password by PBKDF2-SHA256 at 600,000 rounds, which slows each password guess. Changing the password rewrites only this file, so the recovery key never changes.
CHAX writes an encrypted copy next to the original, tests that it opens, and only then swaps it in. If anything fails along the way, the database stays as it was.
Backups made after encryption use the same key and carry their own key file, so one password opens them all.
The audit log records encrypting, changing the password, removing encryption and deleting unencrypted backups.
Each licensed check carries a tiny trace code. See what it looks like, what it proves, where CHAX records it, and how to have it read.
Find the bank’s transit number, the fraction near the top of the check, such as 12-345/678. About 1 mm below it is a row of 22 digits in very small type (2.5 pt Arial). Most people would take it for a check stock lot number, and you may need a magnifier to read it.
There’s nothing to turn on. The trace prints on each check from a licensed copy of CHAX, in every edition.
CHAX Software alone can read the code. It reveals:
The code matches the check only as printed. If someone later changes the amount, payee, routing number, account number or check number, the code stops matching. This helps show whether a check was altered after leaving your printer, or didn’t come from CHAX at all.
Two checks from one license have codes that look unrelated, so the paper alone tells an onlooker nothing.
| Output | Traced? |
|---|---|
| Checks printed from New check, a batch or a recurring run | Yes |
| Checks saved with Export PDF | Yes, as when printed |
| Reprints from Transactions | Yes, with a new code for the reprint |
| Trial (DEMO) checks, without a license | No |
| The alignment test page | No |
In host mode, each PC prints with its own license, so a check’s code names the license of the computer that printed it.
Open Transactions in the sidebar and select the check.

Under Output history, each print or export has a line such as “Trace …, printed by Windows user … on …”. It gives the code, the Windows user signed in to the computer, and the computer’s name. Compare this code with the digits on the paper check.
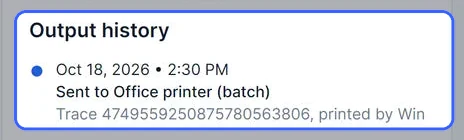
The output history records the Windows user and the computer as well as the CHAX user, so you can tell who printed a check even with sign-in off.
If a bank, a client or the police question a check, email support@chax.com with:
CHAX Software decodes the code and tells you which license printed the check, on which day, and whether the check still matches what was printed.
CHAX creates the code when the check prints or exports, from your license and the check exactly as it prints. Because it sits under the transit number, it moves with the Bank name offset on Check alignment.
The code goes in the check’s output history, with the Windows user and computer, in the company database. Host-mode clients record their own user and computer.
Reading the code takes information held by CHAX Software. CHAX itself doesn’t decode it.