Knowledge Base › CHAX 11 › Printer and check setup
Set up your printer and check format
Choose your printer and stock, line up every field on the check, and set the check format and appearance.
Windows and macOS4 guides


Knowledge Base › CHAX 11 › Printer and check setup
Choose your printer and stock, line up every field on the check, and set the check format and appearance.
Tell CHAX which printer and tray hold your check paper, where the check sits on the sheet, and what kind of stock you load.
In the sidebar, open Settings and choose Printer setup. Every user role can open this page. Your saved choices become the starting point for each check. To change the printer, tray, stock layout or paper for a single check, use the Print settings card on New check.
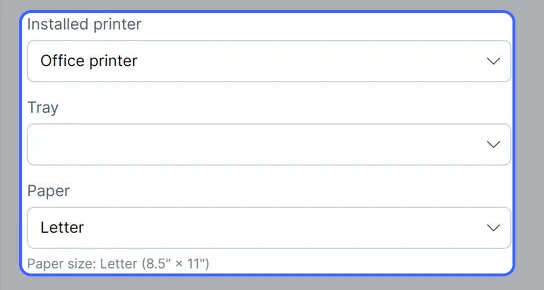
Under Printer, select your printer in Installed printer. Tray then lists that printer’s trays, so select the one holding your check stock. A printer that reports no trays shows Automatic. Paper is always Letter, the only size offered.
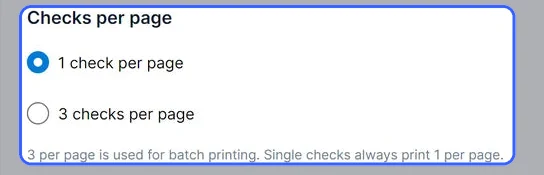
1 check per page is the default, and single checks always use it. 3 checks per page applies to batch printing only, which is part of CHAX Enterprise. Other editions show this option greyed out.
Under Check position on page, select Top, Middle or Bottom, matching where the check sits on your paper. Each card has a small picture of the sheet, and the highlighted card is where CHAX prints.

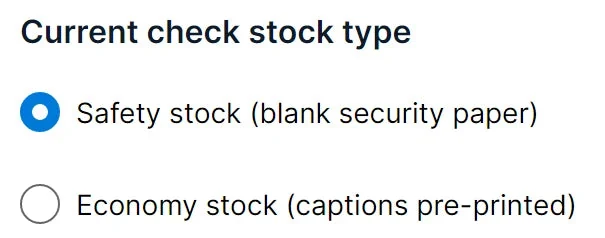
Under Current check stock type, select the paper you load. Hover over an option in CHAX to read the same explanation as a tooltip.
| Option | What it is | What CHAX prints |
|---|---|---|
| Safety stock (blank security paper) | Blank check paper with security features, such as a watermark or void pantograph, and no printed captions. | The whole check: captions, values and the MICR line. |
| Economy stock (captions pre-printed) | Check forms that already have captions such as Pay to the order of, Date and Memo. | The values and the MICR line only. |
Choose Print test page. You’ll get a sample check marked TEST PAGE and VOID, using the settings on screen, even before you save. Print it on plain paper and hold it against your check stock.

When it lines up, choose Save. CHAX shows “Printer setup saved.” If fields are slightly out of place, choose Alignment setup to move them. Read Check alignment and the test page.

The sheet has three parts, each about 3.5 inches tall: the check, a FILE COPY OF CHECK for your records, and a confirmation stub. Their order depends on the position you pick.
| Position | Top of the check from the top of the sheet | Order on the sheet |
|---|---|---|
| Top | 0 in | Check, file copy, stub |
| Middle | 3.37 in | File copy, check, stub |
| Bottom | 7.32 in | Stub, file copy, check |
This layout, used by batch printing, stacks checks in the top, middle and bottom slots. It has no file copy or stub.
On safety stock, CHAX draws each caption and line itself. On economy stock, the paper supplies the captions, and CHAX places the payee and amount on the same baseline as the pre-printed lines. Version 11.1 adjusted the economy face to line up with today’s economy stock.
When several PCs share one database in host mode, each PC keeps its own printers. Set up the printer on every computer that prints checks.
Print the alignment test page, measure how far a field is off, and enter an offset so every check lands on your check stock.
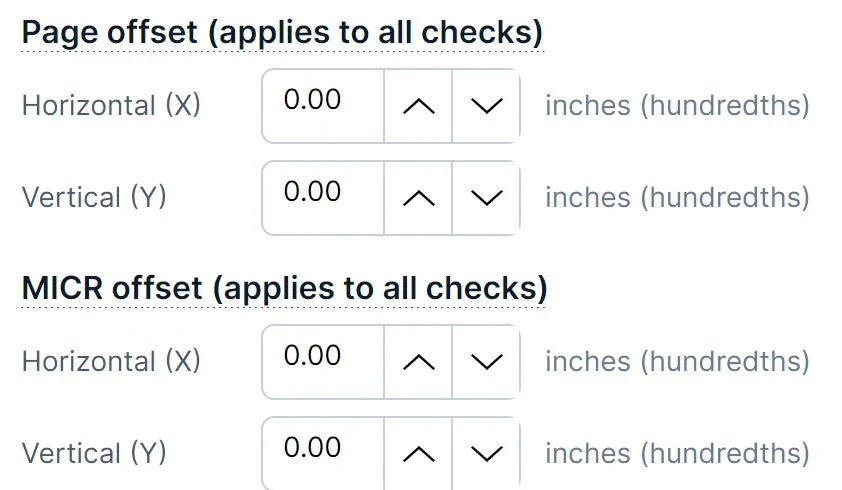
Offsets use hundredths of an inch. Boxes display two decimals, so 5.00 means 5 hundredths, or 0.05 inch. Each box accepts -100 to 100, which is one inch either way, and its arrows step by 1.
| You enter | The field moves |
|---|---|
| Positive X | Right |
| Negative X | Left |
| Positive Y | Down |
| Negative Y | Up |
Begin with the page and MICR offsets. Most printers only need the whole page nudged.
| Setting | What it moves |
|---|---|
| Page offset (applies to all checks) | Everything CHAX prints on the sheet: the check, file copy and stub, including the MICR line. |
| MICR offset (applies to all checks) | The check’s MICR line, added to the page offset. |
| Individual fields (the check only, not the file copy or stub) | One field on the check, added to the page offset. |
You can move these individual fields: Payer name and address, Bank name, Check number, Date, Payee (pay to the order of), Amount, Amount in words, Payee address, Signature / authorization and Memo. Scroll the right-hand card to reach the last two.

Choose Print test page. CHAX sends a void sample check to the printer saved in Printer setup, at your saved check position. It uses the offsets on screen, whether or not you’ve saved them.
The page contains:
VOID across it and the memo ALIGNMENT TEST - VOID.1 in to 8 in) and the left edge (1 to 10).Place the plain-paper test page over a sheet of check stock and hold both up to a light. Compare each printed field with its spot on the stock.
Measure the gap in inches and multiply by 100. Then enter the result in the right place:
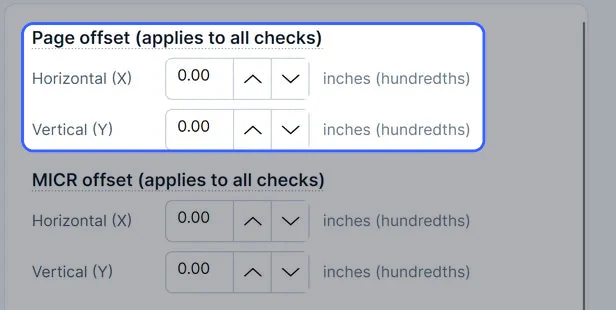
Print another test page. When it lines up, choose Save, and CHAX shows “Alignment saved. It applies to every check you print.”
To start over from zero, choose Reset offsets. Nothing changes until you save.
Say the date prints 0.05 inch below the date line on your stock, so it has to move up by 0.05 inch.
-5.-5 in Vertical (Y). The box shows -5.00 and the preview moves.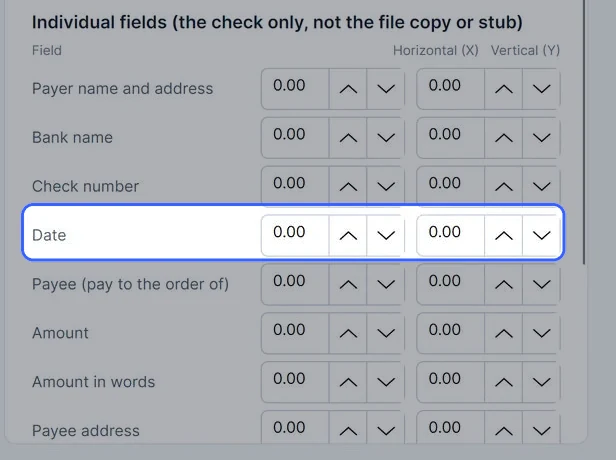
If the whole check had printed 0.05 inch too low, you’d enter -5 in the page offset’s Vertical (Y) instead.
Coordinates. CHAX measures from the top left corner of an 8.5 × 11 inch sheet, in hundredths of an inch. An offset adds straight to a field’s position, so 1 in a box equals exactly 0.01 inch on paper. The preview uses the same layout as the printer.
How offsets combine. The page offset moves every part of the sheet. MICR and field offsets add to it, for the check only. The file copy and stub follow the page offset and ignore the other two.
MICR clear band. Bank machines read the MICR line in the bottom 5/8 inch of the check. Keep the line inside the outlined box on the test page.
Upgrades from CHAX 10. An upgrade starts from CHAX 11’s own alignment and leaves CHAX 10’s offsets behind. If CHAX 10’s alignment was different, the import review tells you and suggests an alignment test page.
Pick a signature line or the authorization message, decide whether check lines and the EPC code print, and hide the CHAX branding line.
Open Settings and choose Check format. Power users and admins can open this page. On the right, Check preview (read-only) applies your choices to a sample check, using your first payer and default payee.
Pick one format, set the three switches, then save.
Choose this for an AUTHORIZED SIGNATURE line at the bottom right of the check, where a signature goes.

Choose this for checks drawn on a payer’s account with their permission. A short message prints in place of the signature line:
THIS PAYMENT HAS BEEN AUTHORIZED BY YOUR DEPOSITORAny questions? Call and the payer’s phone number, left out if the payer has noneSigned: and the payer’s nameby authorized representativeThe grey Original message (read-only) box shows the pay line wording, which is the same in both formats.

The message prints in the signature area. The Signature / authorization offset on Check alignment sets its position.

This draws the lines under the payee, the amount and the amount in words, and it underlines the memo. Despite its name, the switch also controls whether those lines print. If your stock already has lines, turn it off. The signature line isn’t affected.

EPC stands for External Processing Code. It’s a single digit that some banks expect in the MICR line, directly before the routing number. If your bank asks you to, turn it off.

Standard and trial checks carry “Printed with CHAX Software” in small grey print at the top right. With Professional or Enterprise, turn on Hide branding to leave it off. In Standard, the switch is greyed out and its caption reads “Upgrade to Professional to hide it.”

Choose Save. CHAX shows “Check format saved.” and uses the new format for every later check. Cancel goes back without saving.

This page, New check and Review check all build their previews from the printed check’s layout, so what you see is what prints.
With Include EPC code on, the digit prints in the MICR font, in the MICR line, directly ahead of the routing number’s transit symbol (⑆).
“Printed with CHAX Software” is 6 pt grey Arial at the top right corner, clear of the check number, and it moves with the page offset. CHAX checks your license at each print. Under a Standard license or in trial mode, the line prints even if Hide branding was turned on earlier.
Migration from CHAX 10 brings across the signature or authorization choice, check lines and the EPC setting.
Switch between the light and dark theme, and choose the New check layout, the screen CHAX opens on, and the text size.
Open Settings and choose Appearance. Every user can open this page.
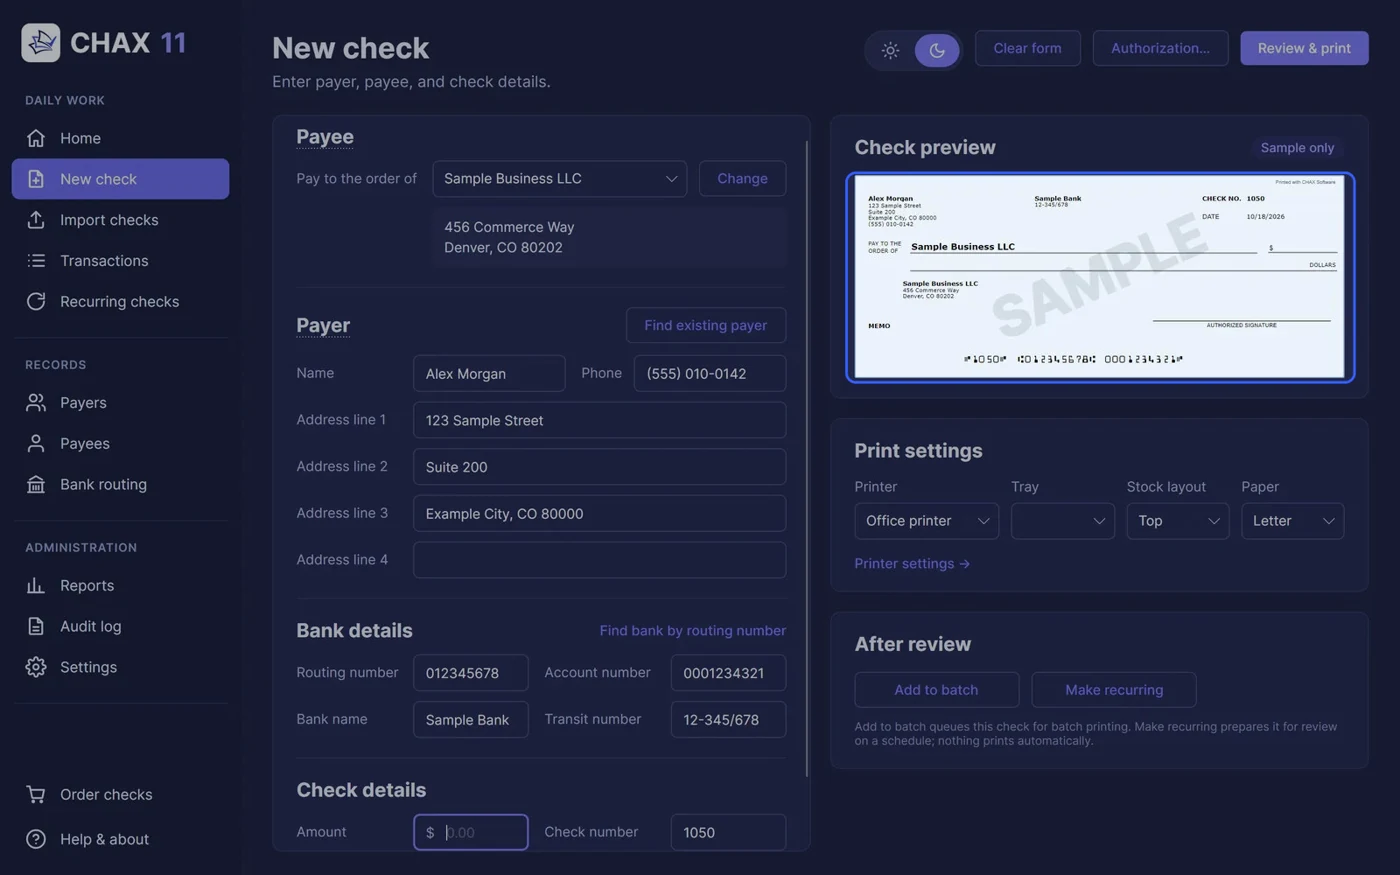
Under Theme, choose Light, Dark or Match system, which follows your computer’s light or dark setting. The theme changes and is kept immediately, with no need to choose Save. The sun and moon switch at the top right of every page sets it too.

Under New check layout, choose Form left / preview right (default) or Preview left / form right. The new layout appears the next time you open New check.

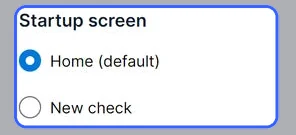
Under Startup screen, choose Home (default) or New check as the first page CHAX shows.
Under Text size, keep Follow system setting (recommended) to use the size set in Windows, at Settings › Accessibility › Text size. Or pick 100%, 110%, 125% or 150%.
With Remember as per-user preference ticked, each CHAX user has their own layout, startup screen and text size. Untick it to make your choices the default for everyone in the company.

Show announcements from CHAX Software displays news and offers when CHAX starts, at most once each, for everyone in your company. Turning it off is part of CHAX Enterprise. In other editions, it stays on.

Choose Save. CHAX shows “Appearance saved. New check uses the new layout the next time you open it.” Back leaves without saving the layout, startup screen, text size and announcements.

Check, print and report previews stay on white paper, so you see the check as it will print.
CHAX keeps the theme per Windows user on this PC, in a small file named theme.json in the CHAX subfolder of that user’s local app data folder. Two people sharing a computer with separate Windows accounts can each have their own theme. A Windows user who has never picked one gets the theme saved for the company in Appearance.
The company database stores the New check layout, startup screen and text size. With Remember as per-user preference ticked, they’re saved for the signed-in CHAX user. Without it, they become the company default and replace your personal choice.
All colours come from one light and one dark palette, so the whole app changes together. Previews of checks, print review and reports draw on white paper in both.